Showing posts with label experiments. Show all posts

Thursday, 19 October 2023

Beets me

 One of my favourite experiments in the veg patch is growing something we think we don't like. 

My reasoning goes that if you can taste something picked at its best, prepared freshly and still dislike it, you've given that food every chance and you never have to try that thing again... but you might be surprised.

I used to think I didn't much like sprouts until I grew them and harvested them myself. Peas got a lot more interesting to small children who could eat them fresh out of the pod. Somehow red currants off the bush are vastly nicer than those in a supermarket. In fairness kohlrabi remained boring and salsify just wouldn't grow so there's not always a success, but it's a game worth playing. 

In my opinion, the worst family of vegetables is that loathesome Clean Dirt masquerading as food, beets and chard. There's no faster way to destroy a salad than to add some baby chard leaves, or that duplicitous, misnomered leaf Perpetual Spinach. Aside - It's not spinach, it's a chard. The name is to make it sound good when it's actually dreadful. Just accept that spinach bolts and sow it successionally.

Worst of all is the Root Vegetable of Doom, beetroot. 

I've had it grated raw in salads, pickled, roasted with other veg, added to hummus, as a so called crisp, ruining added to a smoothie  and god knows what they do to the weird vacuum sealed stuff in the supermarket, but I've had that too. All tasting like a mouthful of earth. At least the pickled one was dirt with added vinegar. 

I'm not alone in this. When my Dad did a bit of vegetable growing in a corner of their herbaceous garden, he was delighted by the success of his beetroot crop. My Mum actually had nightmares about him force-feeding it to her. 

A few years ago I blew a moderate fortune on booking 6 months ahead to take Mark to Tommy Banks's restaurant The Black Swan at Oldstead*. Don't get me wrong, it was money well spent, it was the meal of a lifetime! What I didn't realise was that one of the signature dishes is a slab of crapaudine beetroot cooked for 5 hours in beef fat or olive oil. Yikes!

It was absolutely delicious.

With that in mind, this year I decided to give beets a chance**.

If Tommy Banks goes to the hassle of growing 14th century French heritage beets, and I really want to give beetroot the best go at being acceptable, I thought I should probably do the same. Crapaudine means toad, a reference to the rough skin on these unusual beets. Only specialist and heritage growers sell the seeds, but there are lots of chef-type recipes specifying them in recipes so I figured they must be worth the hassle.

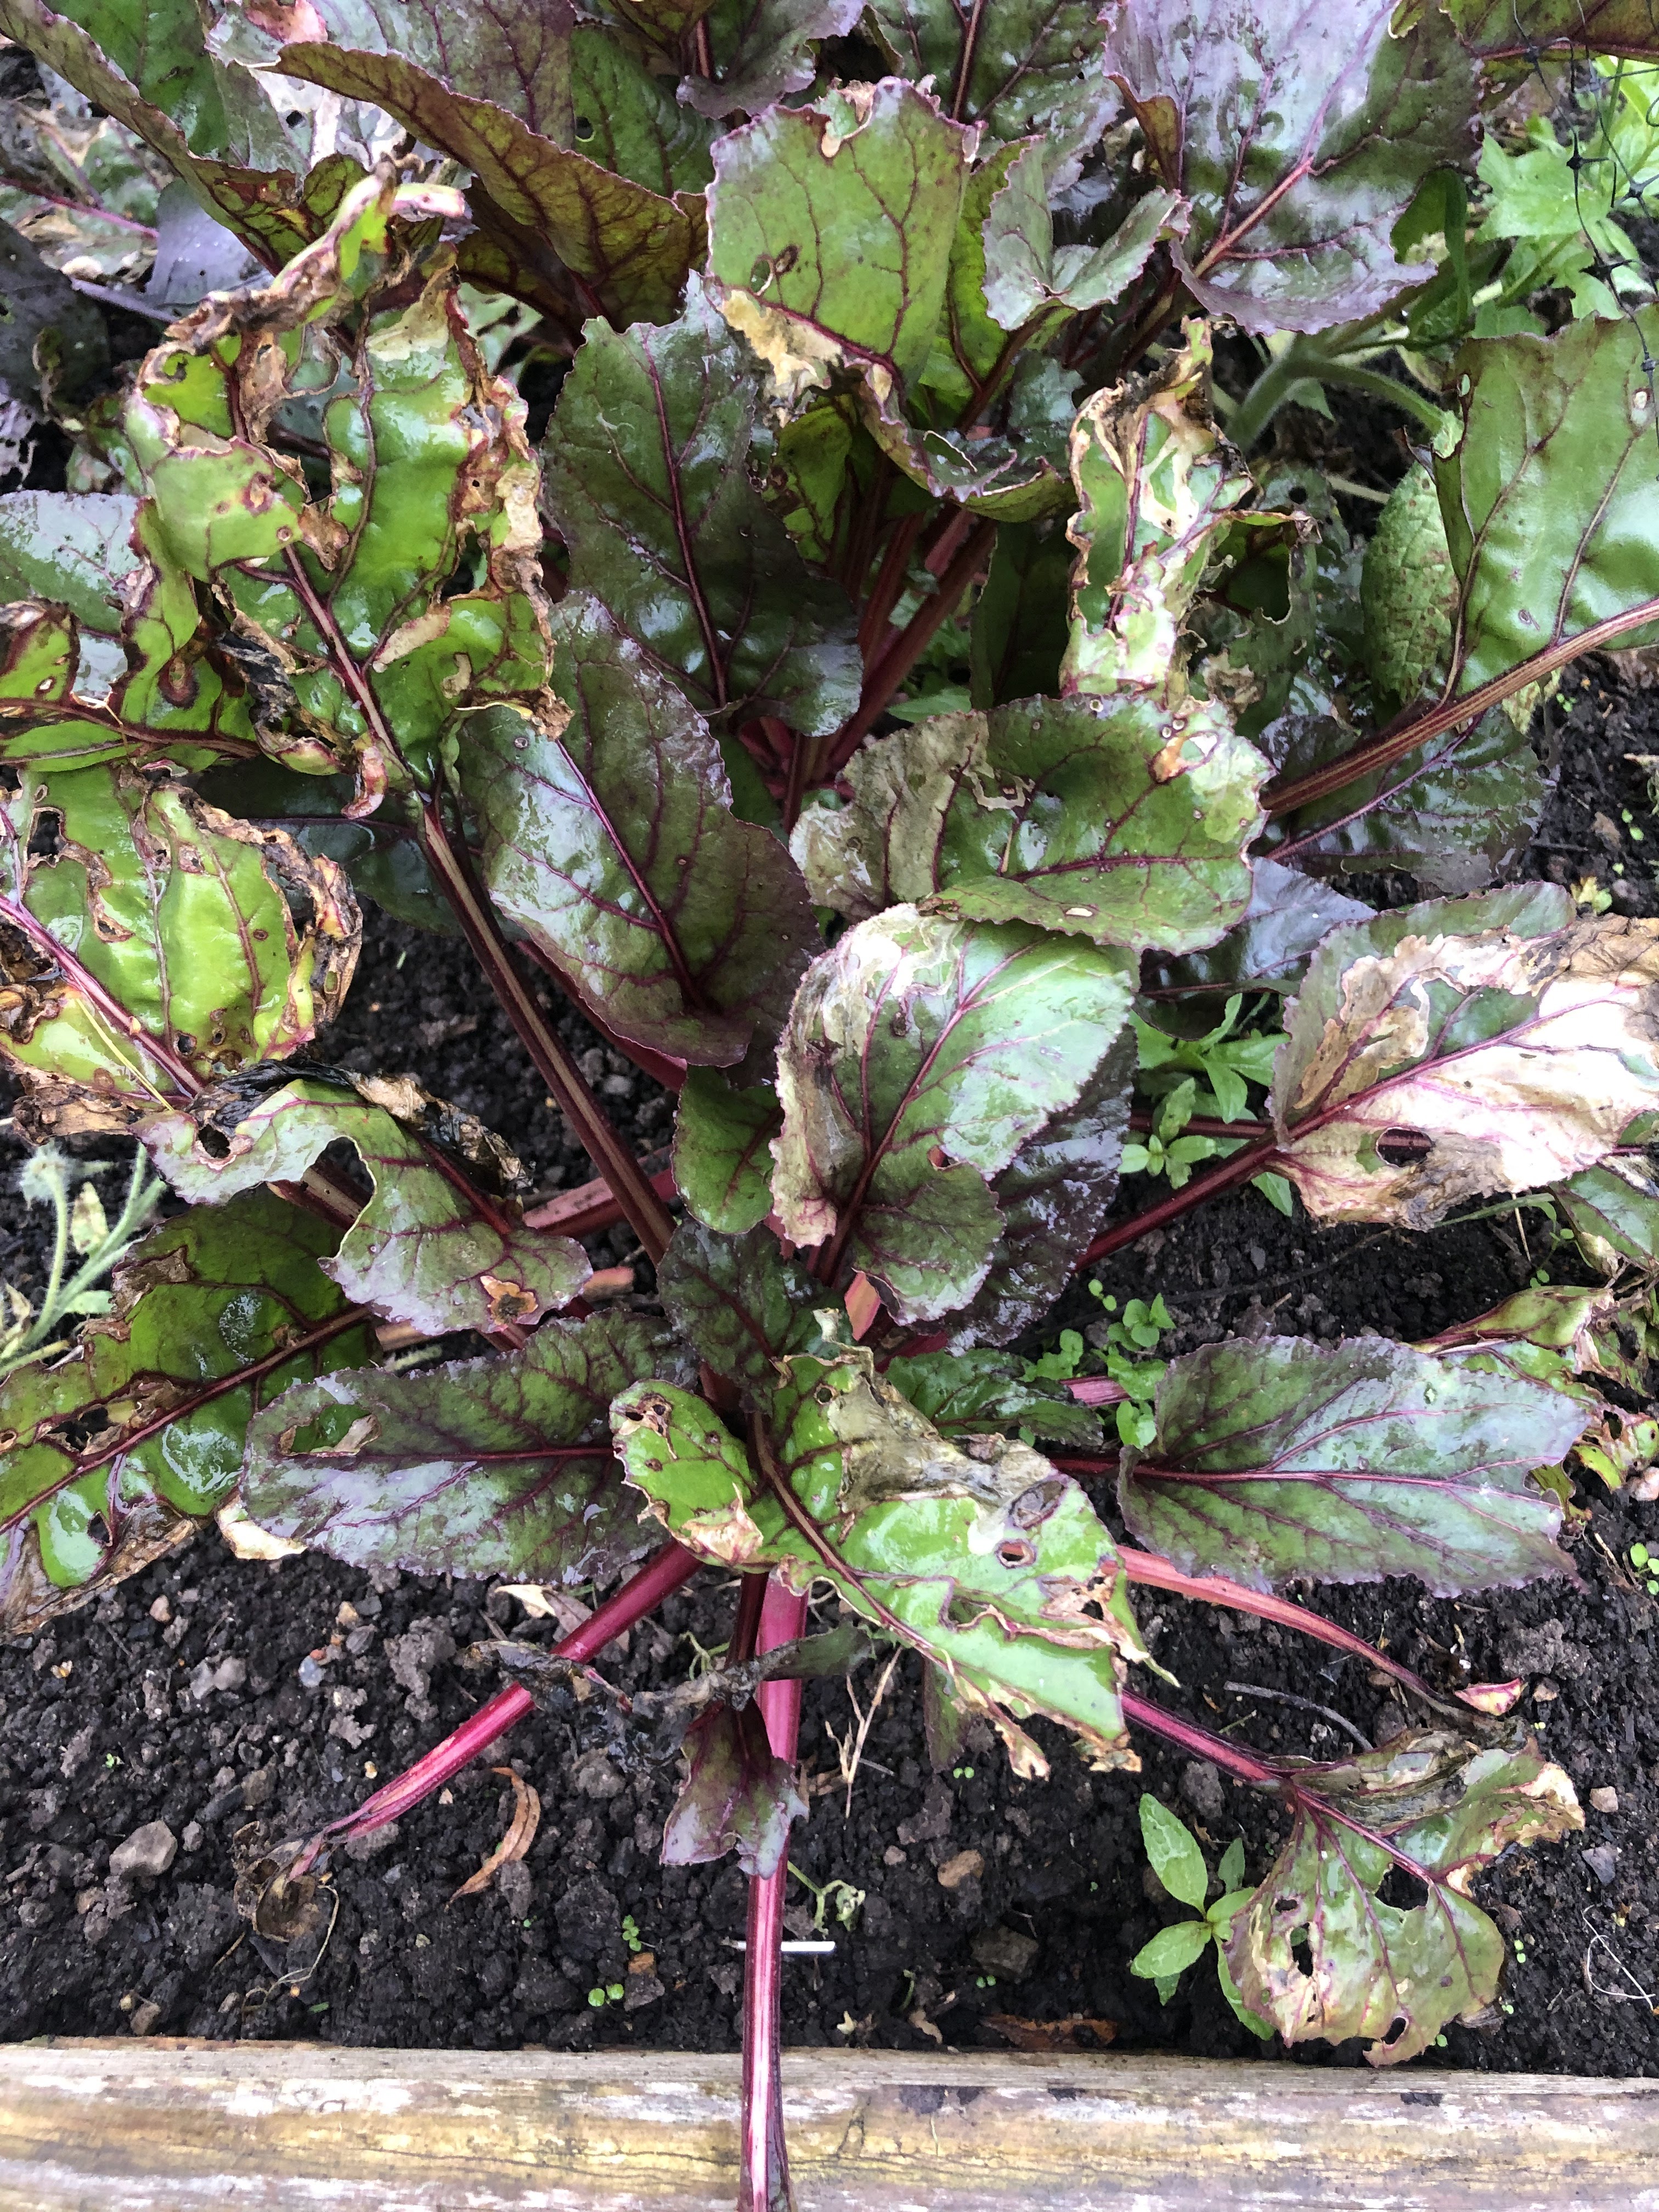
Looking a bit moth eaten by October

Germination went quite well. I sowed the seeds direct in May, with a second, less successful sowing in late June. The leaves looked like pretty much standard beets but the root itself is more like a fat parsnip shape than a globe. I wasn't expecting that. Unfortunately, the same problem as I've had with both carrots and parsnips happened with the beets - they hit an obstacle in the soil and split. I had a nice thick cylinder for the top few inches of root, them they split into useless leggy strands.

Slightly deformed beetroot

Still, I had some healthy looking plants, so was free to experiment.

First I tried the baby leaves, which I'd been told were good in salads. Nope, they taste exactly like chard and are horrible. The hens were extremely grateful to my picky tastebuds as they got loads of nice leafy treats. Personally, I'd rather go hungry.

Next, I tried one of the tiny beetroots raw after I'd thinned the row a bit. Dad said they are particularly nice when young. Nope, still like willingly eating dirt. 

When it came to cooking them, I decided on a split approach. I would drizzle some in oil and salt and roast in a tinfoil parcel, and the other I would try approximate the Tommy Banks approach by cooking it on a very low heat in olive oil on the hob for a few hours.

The latter didn't work at all. Even on the lowest setting on the smallest gas ring, the oil cooked too vigorously. I ended up with a weird halfway house of boiling olive oil then turning the heat off, back and forth for about 2 hours before I abandoned it. I think I should have removed the beetroot from the oil at that point but I let it cool down first.

The second worked really well! I couldn't justify having the oven on for a couple of hours for just beetroot, so I also baked a gluten free lime yogurt cake for my Very Excellent Mate SJ, then one of my favourite easy meals, confit tandoori chickpeas from Ottolenghi

To serve it, I meant to have nice seeded flatbreads with Abergavenny goats cheese and walnuts. As it turned out, the shop didn't have any flatbreads and the walnuts in the cupboard were stale, so we went with just the beetroot and cheese.

The attempted confit beetroot was a bit oily, but other than that they all tasted pretty much the same. Remarkable sweet, a smooth texture and yes, a little bit like Clean Dirt but only a tiny bit, and it complemented the cheese. I think the walnuts - or a bitter leaf like radicchio - might have improved it by cutting through the sweetness but it was still more of a success than I'd anticipated. 

Mark's verdict was Absolutely Delicious. Mine was Not Bad, Actually.

I don't think I'll be rushing to buy great bunches of the stuff, but as an occasional thing, slow roased beetroot is a nice surprise. 5 months from garden to plate, but I don't garden hoping for fast food.

Whigte plate with slices of confitn and roasted beetroot and soft goats cheese
A small plate for such a long project

As I have been putting away gardening things for the winter, I see I still have half a packet of crapaudine seeds. I might even plant them next year. 

Maybe.


* It was later voted best restaurant in the world, and I believe it. If you should ever stumble across a giant wad of money, I heartily reccomend spending it there, or Roots in York by the same team.

** Apologies to John and Yoko


Monday, 7 November 2022

Water works

 I love to grow veg in the poly tunnel and I love my garden but one part I really don't like is watering things. I forget, or my knees hurt, or I get distracted. I am terrible at remembering to do it consistently and unfortunately consistency is the key to successful veg growing.

Watching a section on Gardener's World about an allotment for a guy who is frequently away for periods during the growing season, I was interested in his 'self-watering' planters, or Wicking Pots. This is a system involving a reservoir of water, a wick to draw the water up, and the pot itself. There are absolutely heaps of items you can buy from the basic to the very high tech, but the principle is largely the same.

Our garden tends to the 'allotment chic' aesthetic rather than gadgetry. It felt much more fun to work out how to make them myself than to buy a system so I headed to Google to look at ways of making some wicking pots myself.

THE TRIAL

On the advice of some very helpful YouTube channels, we bought generic builders buckets from Wickes for a quid a go. These would be our resevoirs.

Reusing large plastic pots from shrubs we'd bought in the past would be fine for my cucumber and tomato plants. To hold up the pots I put upturned ice cream tubs in the buckets. This holds the pot proud of the bucket, creating more space for the reservoir.  I cut openings in the sides to let the water in, and in the top to allow air to escape as I pour water in.

As for wicks,  I took the worst of our old tea towels and a sweatshirt B has outgrown. I cut them into strips and pushed the ends through the holes in the base of each pot, long enough to dangle over the ice cream tub to the bottom of the bucket. 

Black builders buckets with upturned ice cream tubs inside

There are loads of different ways to lay out the wicking systems. I made three different ones so I can monitor the results and see which (if any!) is effective.

1) Four thick twisted sections of sweatshirt fabric running all the way up the sides of the pot and held in place by clothes pegs, with a piece of fabric across the bottom of the pot to stop any soil falling into the reservoir. 

2) Several short wicks leading to a thick layer of fabric in the base of the pot to water it from below only.

3) Loads of short croquet-hoop style wicks made from tea towels, both ends trailing to the resevoir and fiilling every one of the holes in the pot - a little but everywhere approach


You can see approaches 1 and 3 - I forgot to photograph the base layer type.

Next job was to fill the pots with peat free compost and plant the tomato and cucumber seedlings. I put in a cane to tie them to as they grew. The pot then went into the bucket - making sure the fabric wicks were hanging down to touch the bottom of the bucket - to sit securely on top of the ice cream tubs. Mark carried them into the poly tunnel for me and I filled the resevoirs from the water butt.


I found the top of the soil felt slightly damp for about 4 days - 5 if it was cooler out. This was great for my erratic watering; even more so later in the summer, when I once again tore the meniscus in my right knee and mobility became a bigger issue for me.  It was also great because our 8 days in Portugal meant my Very Excellent Mate Penny only had to pop over twice to water them.

The gorgeousness of Portugal

Truly fantastic holiday- and yes, you can read in a pool


RESULTS


Good things - 

  • stayed moist
  • needed little attention
  • plants survived heat waves and absences

Bad things - 

  • the insects! something clearly lay its eggs in the stagnant water at the bottom of the resevoirs
  • the smell when watering - disturbing the stagnant bit not only led to a swarm of flies but also a horrible stink
  • instability - the pots listed somewhat over the course of the summer so the plants grew at some inconvenient angles. I could pop a bit of stone or brick to wedge them upright in future

Learning points - 

  • FEED THE PLANTS.  I always used growbags with added fertiliser incorporated so it didn't occur to me I needed to regularly feed the plants. What can I say, I'm a twit.
  • put less water in the resevoir each time unless I was going away. By leaving so much standing water in the reservoir (because I thought the plants would be more thirsty than they were at the start) I ended up with the bugs/pong situation
  • wedge them in place so they don't tip to the side
I will definitely do it again. There was no observable difference in the growth of the plants or the effectiveness of the wicking systems whether tea towel, sweatshirt, long wicks, short wicks and croquet hoops, so that makes things easy. The wicks aren't reusable as the cotton is pretty disgusting after one season, but we always have some old rags, t-shirts or cloths around.

For a number of reasons we didn't have a successful tomato crop - the scary 40 degree temperatures stressed everything, the plants fruited late and didn't have time to ripen, and yes, for those on the back, I totally failed to regularly feed the poor things.

On the positive side, lots of green tomatoes means lots of green tomato chutney.

Green Tomato Chutney

  • 500g unripe tomatoes
  • 500g onions
  • 250g sultanas (or 125g plus 125g diced Bramley
  • 200g brown sugar
  • 1.5tsp salt
  • 1tsp cayenne pepper
  • 1tsp crushed cardamom seeds
  • 1tsp mustard seeds
  • 500ml vinegar - whatever type you have
Chop the tomatoes and onions, chuck everything into a pot and simmer uncovered for 45-75 minutes, depending how finely you diced things. When it's nice and reduced, put the hot churney into sterilised jars.

Ta-Da!